
Happy Monday, friends. I hope you’ve had a great weekend. Today, I’m sharing a clean and simple Christmas card using the Eclipse technique!

To start out, I took an A2 panel of white card, and ran it through my die-cutting machine with MFT’s Merry & Bright die, making sure to keep all of the pieces. I then die-cut the same sentiment die from Concord and 9th Peacock cardstock, four times.
I added my white panel to an A2 card blank, then glued one set of the Peacock coloured letters into the blank spaces, as well as the white negative spaces from inside the letters.
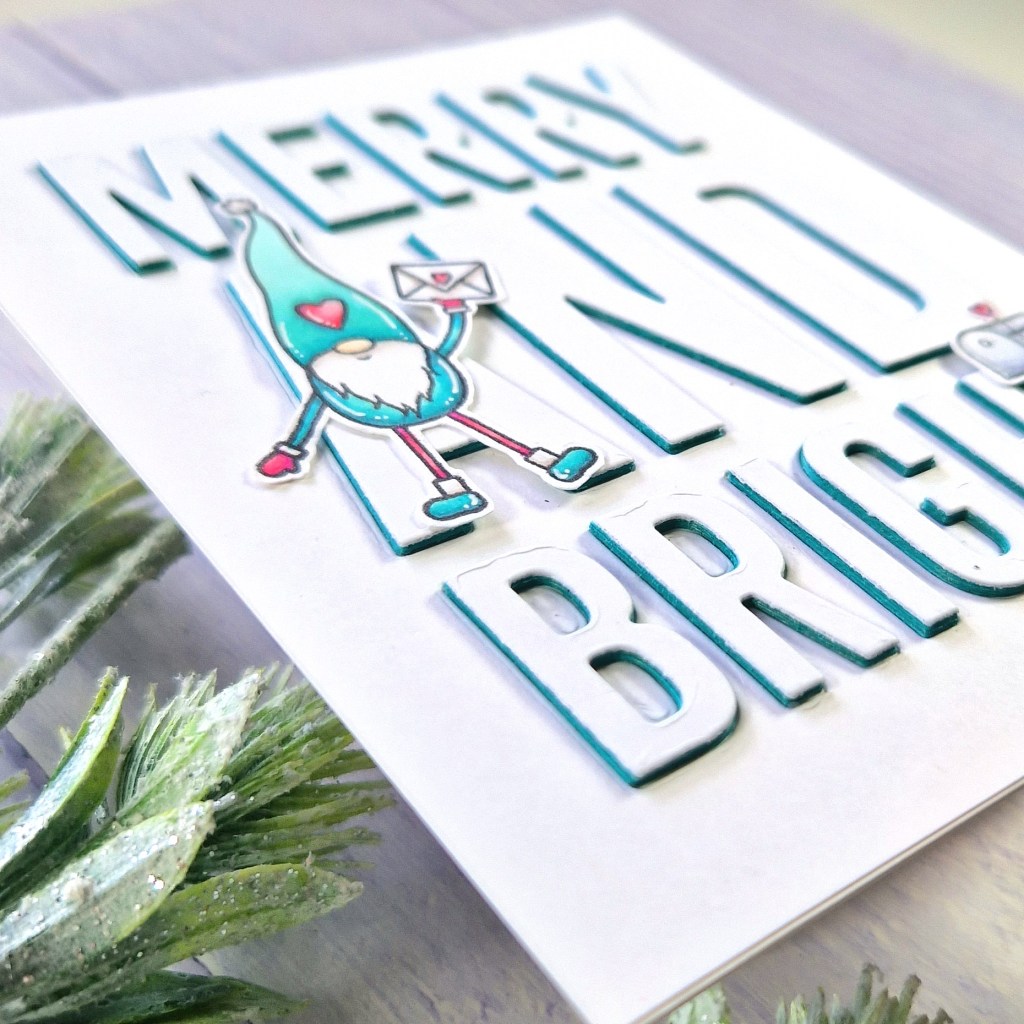
I then glued the other Peacock coloured letters over the top, and finally, added the white letters as the top layer. This creates a raised sentiment, with the tiniest hint of the colour underneath visible, until you tilt the card to the side and you can see it fully! This “eclipse” technique also works great with patterned paper.
The “A” in the sentiment reminded me of the gnome in MFT’s Love to My Gnomies stamp set, so I decided to stamp, fussy cut and colour him in, and place him on top of the A. The letter box from the same set was also a great match for the “T”, so I added that in, too!

The colours I used were:
Gnome’s hat, clothes & shoes: BG15, BG23, BG10
Gnone’s gloves, legs and hearts: RV14, RV13, RV11
Letter box: C5, C3, C1, C0, RV14, RV13
And of course, I finished the colouring with white gel pen accents.
So, quite a simple card to make really – and quite therapeutic, puzzling all the letters together for a while!
Thanks for joining me again today, I hope you’ll be back soon!

Leave a comment